
5 Time Saving Techniques for V-Ray for SketchUp
- Jack Dicker
- May 27, 2023
- 5 min read


1. Hotkeys
When extrapolated for the full working day; the everyday SketchUp user may spend upwards of 10 minutes simply searching for the correct tool to use.
Introducing Hotkeys.
Also known as shortcuts, hotkeys are a defined as:
A key (or combination of keys) which give you quick and immediate access to a particular function within SketchUp.
The particular function that the definition above refers to would be different for each SketchUp user – meaning that we need a way to manually assign certain shortcuts to assist us with very specific tasks.
Head over to your preferences window, and click on the shortcuts tab.
Simply search for the tool that you use frequently, and tap the key (or series of keys) that you would like to assign to activate the function.

A simple concept – but within a week, we guarantee that this will make you feel more fluent within SketchUp.

If you would like to hear about other ways that you can feel more fluent within SketchUp, why not try our Complete Guide to V-Ray for Sketchup course?
2. Components
The second of our 5 time saving techniques for SketchUp or Vray is, in our opinion, components are THE best way of advancing the quality of your 3D scenes in the most time-effective manner possible.
How do they work?
Right-click on one of your groups within your scene, and ‘Make Component’
This simple process now gives this entity new editing properties. When you make copies of this component, you will notice now, that editing one of them enables all of the others to be edited simultaneously!
The sky really is the limit when it comes to the applications that this offers us.
How do we use them?
Vegetation.
Make loads of copies of a piece of vegetation; randomising the rotation and scale as you go…
Here, we’ve used something called a V-Ray Proxy – which explains why our ‘vegetation’ looks like a box! When rendered, this box in-fact looks like a small patch of meadow grasses.
As you can see, the same principle still applies – an edit made to one of these affects each and every other instance!
We cover components in great detail on our Complete Guide to V-Ray for Sketchup courses, which tend to run at the end of every month. Click on the link to find out more!

3. Parametric Modelling
Wouldn’t it be great if there was a way where, as if by magic, you could pre-program a set of rules into an intelligent program, which could generate a whole host of different modelling elements, with minimal input from the user?
Well, I’m very glad that you asked…
Rather than manually modelling, duplicating and generating profiles and components, take a look at parametric modelling plugins such as Skatter and Profile Builder.
When it comes to creating realistic vegetation, Skatter is the sharpest tool of the lot.
As the name suggests, this intuitive plugin allows you to scatter vegetation components around your model, allowing you to randomise the distribution in ways hitherto impossible using SketchUp’s native toolset.

As the name suggests, this intuitive plugin allows you to scatter vegetation components around your model, allowing you to randomise the distribution in ways hitherto impossible using SketchUp’s native toolset.
We have been using this plugin for years, and it truly is the cornerstone of our landscaping workflow, which enables us to apply and produce complex and detailed landscaped imagery.
Building complex, parametric models is achieved through Profile Builder 3‘s intuitive interface, which gives you the power to construct detailed and future-proof assemblies with labour-saving in-mind.

Download preset assemblies or create your own – we really do vouch for the efficiency of this powerful SketchUp extension!
We are often asked for bespoke training in these plugins – take a look into our Top-Up courses if you would like to know more.
4. Test Rendering
If you have done some rendering in the past, you will be well aware that this is not instantaneous… unfortunately.
That said, there are certain techniques that you can use to speed up this rendering process, depending on the quality of the output that you require.
When ultra-high quality is not necessary for the early stages of a project, using a Denoiser in conjunction with a low-quality draft enables you to understand the design without waiting a long time for the render to finish.
After running a few tests of our own – adding a Denoiser to lower quality drafts buys you time to spend elsewhere.
Another pro-tip is to use region renders whenever possible – as the name suggests, this allows you to test-render only a small portion of the overall image.

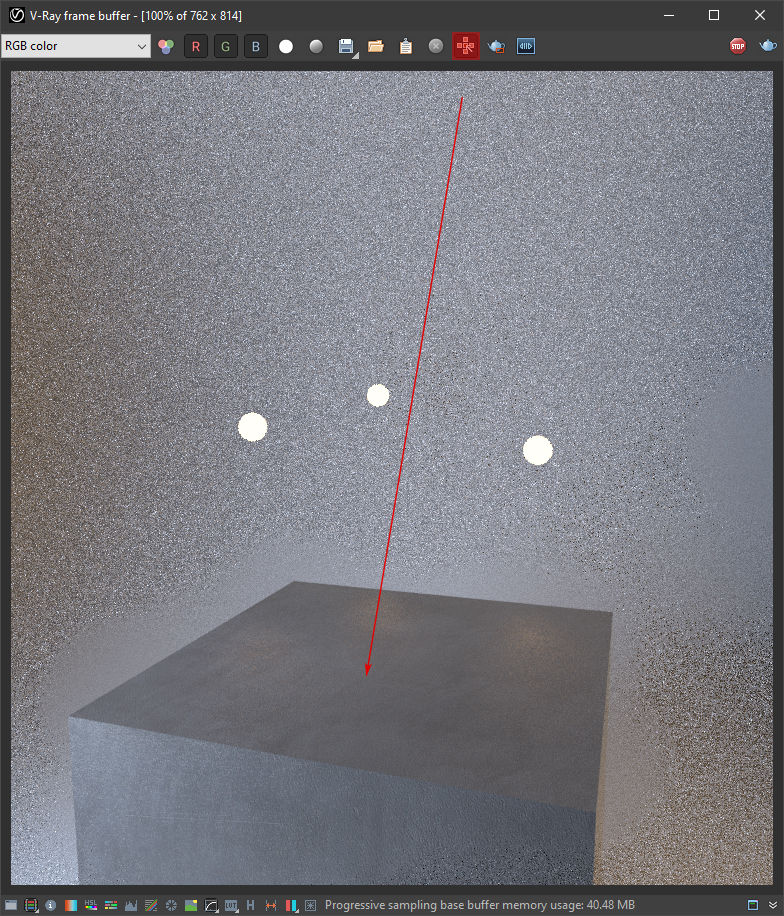
The same principle applies when interactive rendering when using the ‘follow-mouse’ technique. After pressing the icon highlighted below, the render engine will focus its attention on the position of your cursor – another very useful technique if you need a quick solution.
We cover rendering techniques in great detail on our Access into V-Ray courses, held in the middle of every month – check out the link to find out more!
5. Distributed Rendering
This time for V-Ray not Sketchup, one of our 5 time saving techniques Many hands make light work.
Imagine being able to harness all of the computing power of your office or home, enabling you to ‘borrow’ computing power from all the machines within your local area network…
Introducing the V-Ray Swarm.

Intelligent render engines like V-Ray allow the user to break-up and ‘distribute’ the rendering workload across many machines.
Depending on the number of cores within your CPU (the brain of your computer), you will have varying amounts of buckets (which are the small squares that can be seen above).
When you add another machine to your V-Ray Swarm, you will notice that the number of buckets increases – which means that your render will finish much faster!
Let’s have a look at a real-world application for this…
Whenever anyone purchases a new V-Ray license, you automatically receive a free V-Ray Render Node accompaniment.

Imagine that we have two machines in the office, one that we will work on, and the other that will act as our render node.
We then install V-Ray on both the primary machine, and also the render node.
Once we are ready to render, we then turn on the V-Ray Swarm at the bottom of our Asset Editor, and then go to add a new node. You reserve the right to name your nodes anything you like – if you are cool like us, you can also name all of our machines after characters within the Marvel cinematic universe!

We truly believe that these time-saving techniques are useful to anybody, regardless of your level of SketchUp and V-Ray – which is why we cover all of the above on our Complete Guide to V-Ray for Sketchup courses – head over to our shop to find out more!
5 time saving techniques for V-Ray for SketchUp
All of our courses are now held online, and we truly believe that the quality of the course is only improved by being able to attend within the comfort of your own home or office.


Comments